
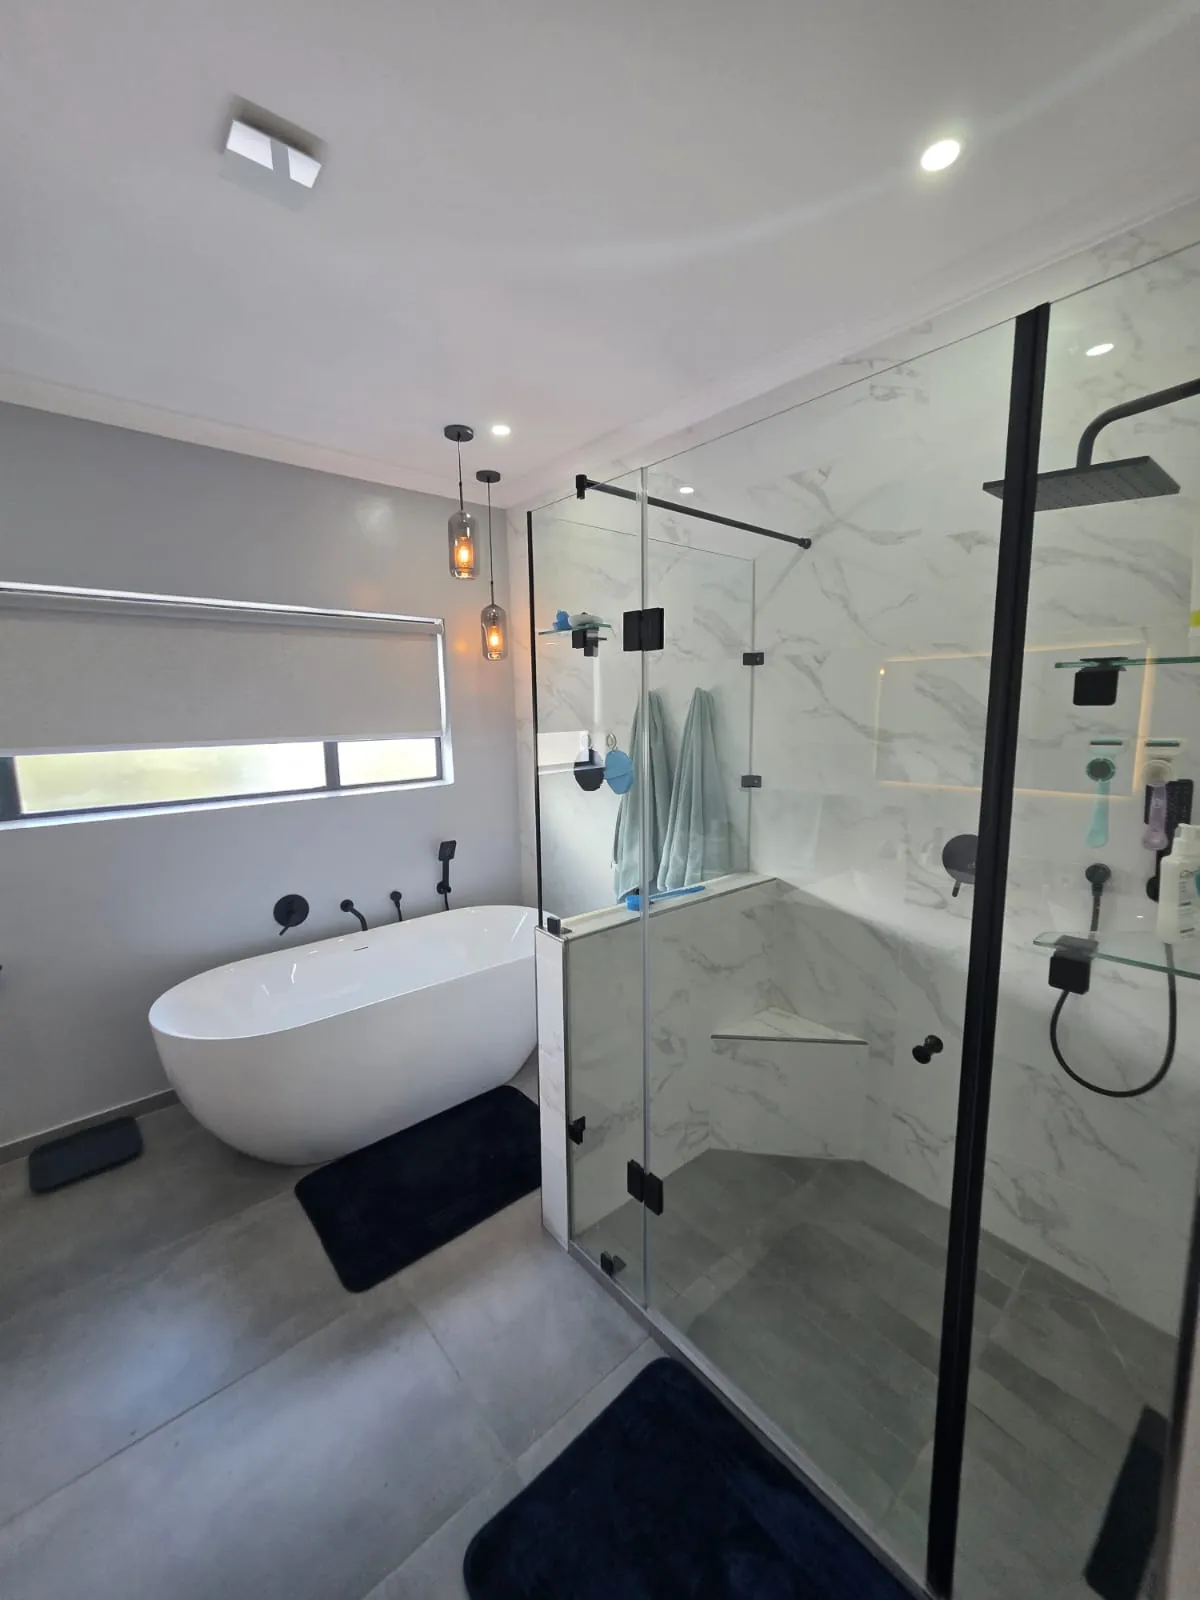
A bathroom renovation looks simple from the outside: old tiles out, new tiles in. In practice it is one of the most layered jobs in a house. Plumbing, waterproofing, tiling, plastering, ceilings, electrical and custom glass all have to happen in the right order, and each step depends on the one before it being done properly.
This is how we run a bathroom renovation in Pretoria, from the first site meeting to the day the shower glass goes in.
1. Site meeting and an itemised quote
Every bathroom starts with a site meeting. We look at the existing layout, the plumbing, the floor levels and what you want the room to become. From there we put together an itemised quote for the whole bathroom, often quickly and sometimes on the same day as the meeting.
An itemised quote matters because you can see exactly what is included: demolition, plumbing, waterproofing, tiling, plastering, ceiling, electrical points, fittings and the shower. Nothing is hidden in one lump sum, and if something changes later you can see exactly where.
2. Choosing tiles, fittings and layout
Unless you already know exactly what you want, we work through a selection checklist with you:
- Wall and floor tiles
- Taps, mixers and shower heads
- Toilet, basin and vanity
- Accessories such as towel rails and holders
- Shower layout: walk-in, enclosed, or with a step
- Ceiling and lighting
We source options and present them to you. If you have your own products in mind, that is fine too. We will tell you honestly what the pros and cons are, so you choose with the full picture. Once the choices are made, we update the quote so it reflects exactly what you selected.
3. Deposit and scheduling
When the final selections are on the quote and the deposit is paid, the job is scheduled and the team is booked in.
4. Preparation and dust control
Before anything is broken out, we prepare the house. A bathroom strip-out creates a lot of dust, so we seal off the work area and the route through the house with plastic sheeting and tape. We go through rolls of it on every job and buy it in bulk for that reason.
Items that should not get dusty are packed away or covered. We will be honest: a bit of dust always finds its way out, but good preparation keeps it to a minimum, and we clean up at the end of every working day. A rubble area or skip is set up on site so the rubble leaves the house quickly and cleanly.
5. Marking out and demolition
On day one we plan and mark out the room, and the demolition starts. The bathroom is stripped back: old tiles, fittings, and anything that is being replaced. Once it is stripped, we can see what is behind the walls and under the floor, and mark out exactly where the new pipes, drains and fittings will go.
6. Plumbing: new pipework
Next the pipes are cut out and new pipework is installed. Copper is the traditional choice and we still use it. We also use modern multilayer pipe systems, which are cost-effective and quick to install, with fewer joints in the wall.
This is also where the important layout questions get settled. The height of the shower trap and drain decides whether a level walk-in shower is possible, or whether the shower needs a small step. We discuss these options with you before the walls are closed up.
When the plumbing is done, it is checked and logged before we move on. Pipes are about to disappear behind tiles, so this is the moment to be sure.
7. Waterproofing
Waterproofing is the step you never see, and the one that matters most. A badly waterproofed shower can leak into walls and floors for years before anyone notices.
We apply waterproofing in several layers, and we use different colours for different layers. That way we can see at a glance which coats are done and that every area is covered, especially around the shower floor, corners and pipe penetrations. If you would like to see what this stage looks like, our third-floor flat renovation shows a bathroom with the waterproofing applied before tiling.
8. Tiling, plaster, ceiling and electrical
With the waterproofing done, tiling starts. The details that make the difference here:
- Checking with the supplier what kind of tile it is (for example, rectified or not), because that affects the joint width and how it is laid
- Using the correct tile adhesive for the tile and the surface
- Laying mosaics with the right mosaic adhesive or cement
- Making sure each tile sits flat and level, so the finish looks seamless
Around the tiling, the other trades fit in: plastering (we use Rhinolite), ceiling work and electrical points for lights, mirrors and extractor fans. Every step is planned and checked so one trade does not undo another's work.
We are flexible along the way. If you want to change something and it does not cause problems further down the line, we can usually accommodate it.
9. Final fitment and cleaning
Then the fittings go in: toilet, vanity, basins, taps, mirrors and accessories. We do a thorough final clean and go through the bathroom in detail to make sure everything is right.
10. The shower glass
The custom shower glass is the last piece. We take the final measurements only once the shower floor is tiled. It is possible to measure earlier, but it is a risk: a few millimetres of difference in the finished tiles can mean glass that does not fit. Measuring at the end is the safer way.
Custom showers have a manufacturing lead time, so there is usually a short wait between the tiling being finished and the glass being fitted. Once it is installed, the project is complete.
How long does a bathroom renovation take?
It depends on the size and the scope. A small update can take a few days to a week. A full bathroom renovation usually takes us around three weeks, and bigger or more complex bathrooms can take three to four weeks, plus the lead time on the custom shower glass. We will give you a realistic timeline for your bathroom at the quote stage.
See a finished bathroom
For a recent example, have a look at our Olympus main bathroom renovation, with a freestanding bath, frameless glass shower and double vanity.
Planning a bathroom renovation in Pretoria? Contact us to book a site meeting and get an itemised quote.